什么是Harbor

Harbor 是由 VMware 公司中国团队为企业用户设计的 Registry server 开源项目,包括了权限管理(RBAC)、LDAP、审计、管理界面、自我注册、HA 等企业必需的功能,同时针对中国用户的特点,设计镜像复制和中文支持等功能

Harbor官方文档

Harbor Github项目

部署安装

  1. CentOS Linux release 7.8.2003 (Core)
  2. Docker version 19.03.13
  3. docker-compose version 1.24.1

docker安装

二进制方式安装

二进制安装包下载地址

1,下载安装包

wget https://download.docker.com/linux/static/stable/x86_64/docker-19.03.9.tgz
tar zxvf docker-19.03.9.tgz
mv docker/* /usr/bin

2,systemd管理docker

cat > /usr/lib/systemd/system/docker.service << EOF
[Unit]
Description=Docker Application Container Engine
Documentation=https://docs.docker.com
After=network-online.target firewalld.service
Wants=network-online.target

[Service]
Type=notify
ExecStart=/usr/bin/dockerd
ExecReload=/bin/kill -s HUP $MAINPID
LimitNOFILE=infinity
LimitNPROC=infinity
LimitCORE=infinity
TimeoutStartSec=0
Delegate=yes
KillMode=process
Restart=on-failure
StartLimitBurst=3
StartLimitInterval=60s

[Install]
WantedBy=multi-user.target
EOF

yum方式安装

#卸载旧版本
yum remove docker docker-common docker-selinux docker-engine -y

# 安装需要的软件包
sudo yum install -y yum-utils device-mapper-persistent-data lvm2

# 设置yum源为阿里云
sudo yum-config-manager --add-repo http://mirrors.aliyun.com/docker-ce/linux/centos/docker-ce.repo

#或者设置官方源
#sudo yum-config-manager \--add-repo \https://download.docker.com/linux/centos/docker-ce.repo


# 安装docker
sudo yum install docker-ce -y

以上两种方式任选一种安装即可

创建配置文件

mkdir -p /etc/docker
cat > /etc/docker/daemon.json << EOF
{
"registry-mirrors": ["https://mirror.ccs.tencentyun.com"]
}
EOF


#阿里云镜像加速器 也可以替换成腾讯云的镜像加速

启动并设置开机启动

systemctl daemon-reload
systemctl start docker
systemctl enable docker
systemctl status docker

image-20210417194150567

docker-compose安装

docker-compose官网文档介绍

二进制安装

1,下载安装包

或者离线下载安装包我们可以从 Github 上下载它的二进制包来使用,最新发行的版本地址

或通过命令行下载

sudo curl -L "https://github.com/docker/compose/releases/download/1.24.1/docker-compose-(uname -s)−(uname -m)" -o /usr/local/bin/docker-compose

2,安装docker-compose

sudo chmod +x  /usr/local/bin/docker-compose
sudo ln -s /usr/local/bin/docker-compose /usr/bin/docker-compose

#docker-compose -v
Docker Compose version v2.10.2 #表示安装成功

yum源安装

docker-compose version

[root@VM-249-124-tlinux ~]# docker-compose version
docker-compose version 1.18.0, build 8dd22a9
docker-py version: 2.6.1
CPython version: 3.6.8
OpenSSL version: OpenSSL 1.0.2k-fips 26 Jan 2017 #表示安装成功

安装Harbor

通过命令行下载 或者直接在GIthub上里面下载好的离线安装包,下载地址

下载完毕后,上传到需要安装harbor的服务器上,进行解压

wget https://github.com/goharbor/harbor/releases/download/v2.1.4/harbor-offline-installer-v2.1.4.tgz

tar xvf harbor-offline-installer-v2.1.4.tgz

进入harbor 目录,根据需要修改相关参数

cd harbor
cp harbor.yml.tmpl harbor.yml #默认是harbor.yml.tmpl需要将这个文件重命名一下
vi harbor.yml

如果没有域名,使用IP去访问,需要修改以下几项内容

hostname: 修改成自建服务器IP

http.

port: 端口

注释掉https相关配置项

harbor_admin_password: harbor登陆密码

# Configuration file of Harbor

# The IP address or hostname to access admin UI and registry service.
# DO NOT use localhost or 127.0.0.1, because Harbor needs to be accessed by external clients.
hostname: 94.191.122.37 #需要修改成自己的域名,如果没有域名直接填写自己的 IP

# http related config
http:
# port for http, default is 80. If https enabled, this port will redirect to https port
port: 80 #默认端口是80,如果想修改也可以修改成启动端口

# https related config
#https: #启用https, 如果不想要,需要注释掉
# https port for harbor, default is 443
#port: 443 #https的端口,默认是443
#The path of cert and key files for nginx
#certificate: /your/certificate/path #需要将证书上传到对应路径下,根据情况可自行修改
#private_key: /your/private/key/path #需要将证书上传到对应路径下,根据情况可自行修改

# # Uncomment following will enable tls communication between all harbor components
# internal_tls:
# # set enabled to true means internal tls is enabled
# enabled: true
# # put your cert and key files on dir
# dir: /etc/harbor/tls/internal

# Uncomment external_url if you want to enable external proxy
# And when it enabled the hostname will no longer used
# external_url: https://reg.mydomain.com:8433

# The initial password of Harbor admin
# It only works in first time to install harbor
# Remember Change the admin password from UI after launching Harbor.
harbor_admin_password: xxxxxx密码 #登陆镜像仓库的初始化密码,根据情况可自行修改

# Harbor DB configuration
database:
# The password for the root user of Harbor DB. Change this before any production use.
password: xxxxxxx密码
# The maximum number of connections in the idle connection pool. If it <=0, no idle connections are retained.
max_idle_conns: 50
# The maximum number of open connections to the database. If it <= 0, then there is no limit on the number of open connections.
# Note: the default number of connections is 1024 for postgres of harbor.
max_open_conns: 1000

# The default data volume
data_volume: /data #默认是/data 根据情况自行修改,如果是生产环境使用,建议是修改下镜像存储的路径

###################下面其他内容保持默认就可以,这里就不累赘介绍了

修改完配置后,确认无误执行如下命令进行安装

./install.sh
[Step 5]: starting Harbor ...
[+] Running 10/10
⠿ Network harbor_harbor Created 0.0s
⠿ Container harbor-log Started 0.9s
⠿ Container redis Started 1.7s
⠿ Container harbor-portal Started 1.8s
⠿ Container registryctl Started 1.5s
⠿ Container harbor-db Started 1.6s
⠿ Container registry Started 1.8s
⠿ Container harbor-core Started 2.2s
⠿ Container nginx Started 2.9s
⠿ Container harbor-jobservice Started 2.9s
✔ ----Harbor has been installed and started successfully.----

有如上提示表示安装成功

harbor基本使用

然后我们访问一下这个地址,如果是http的则可以直接使用IP地址+端口访问,用户名默认是:admin,密码就是配置文件里面那个harbor.yml文件里面harbor_admin_password值

image-20210510155124472

仓库管理

可以添加其他仓管,以腾讯云TCR镜像仓库为例

image-20210510155336022

复制管理

复制管理 可以将本地镜像复制到其他镜像仓库,也可以将其他镜像仓库复制到本地

image-20210510155605740

项目管理

您可以为不同类被镜像创建项目 或者为不同的项目组创建项目

image-20210510155930055

仓库管理

image-20210510160003817

镜像上传下载

登陆镜像仓库

#docker login  94.191.122.37:端口  (如果使用的是默认80端口,则可以不指定端口)

如果默认docker配置登陆会报如下错误,不用担心,因为docker默认是使用https,而且要必须使用域名,只是用ip访问是不行的,可以通过添加信任列表解决

[root@VM-249-124-tlinux ~/harbor]# docker login 94.191.122.37
Username: admin
Password:
Error response from daemon: Get https://94.191.122.37/v2/: dial tcp 94.191.122.37:443: connect: connection refused

修改docker的配置文件/etc/docker/daemon.json,添加 insecure-registries配置

cat /etc/docker/daemon.json
{
"registry-mirrors": ["https://mirror.ccs.tencentyun.com"],
"insecure-registries": ["94.191.122.37"] #添加这个配置,如果端口不是默认80记得要加下端口噢
}

然后重启docker 进程

systemctl restart docker
systemctl status docker

重启harbor服务(需要进入有harbor.yaml文件的目录执行)

[root@VM-249-124-tlinux ~/harbor]# docker-compose  restart
#1,登陆
[root@VM-249-124-tlinux ~/harbor]# docker login 94.191.122.37
Username: admin
Password:
WARNING! Your password will be stored unencrypted in /root/.docker/config.json.
Configure a credential helper to remove this warning. See
https://docs.docker.com/engine/reference/commandline/login/#credentials-store

Login Succeeded,
#2,从dockerhub下载一个测试镜像
[root@VM-249-124-tlinux ~/harbor]# docker pull busybox
Using default tag: latest
latest: Pulling from library/busybox
2c39bef88607: Pull complete
Digest: sha256:20142e89dab967c01765b0aea3be4cec3a5957cc330f061e5503ef6168ae6613
Status: Downloaded newer image for busybox:latest
docker.io/library/busybox:latest
[root@VM-249-124-tlinux ~/harbor]# docker images | grep busy
busybox latest c98db043bed9 3 days ago 1.24MB
#3,重新打tag
[root@VM-249-124-tlinux ~/harbor]# docker tag c98db043bed9 94.191.122.37/docker/busybox:harbor

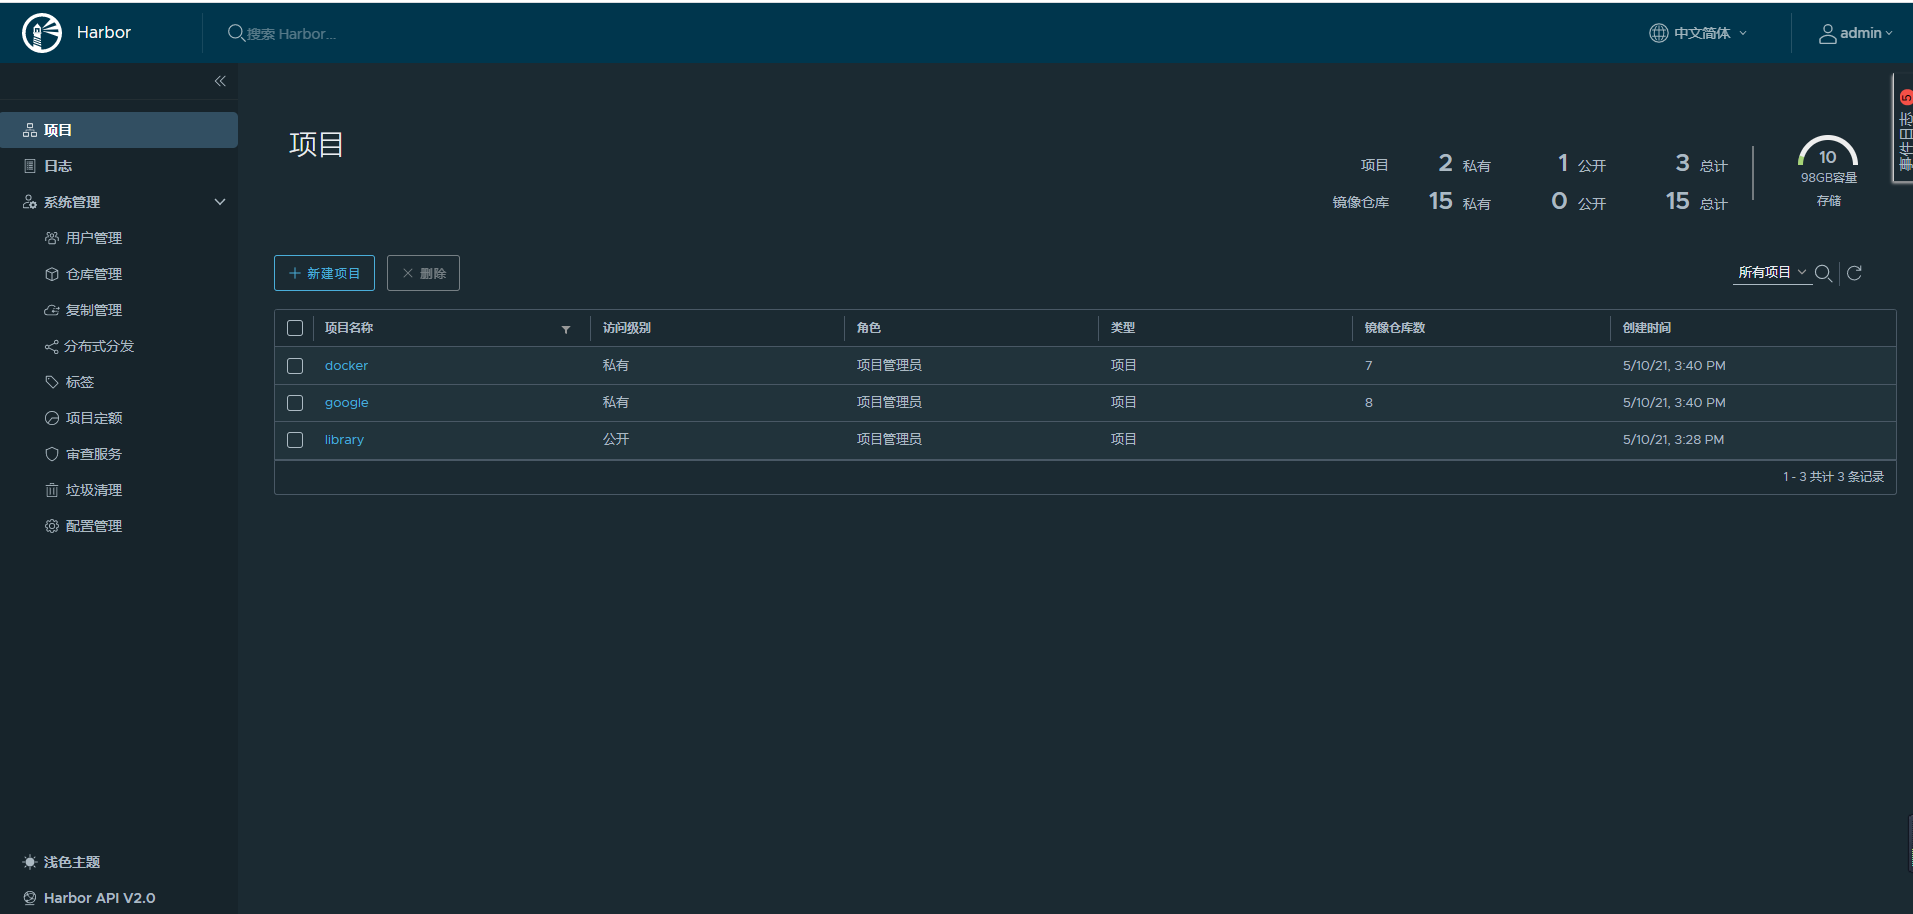
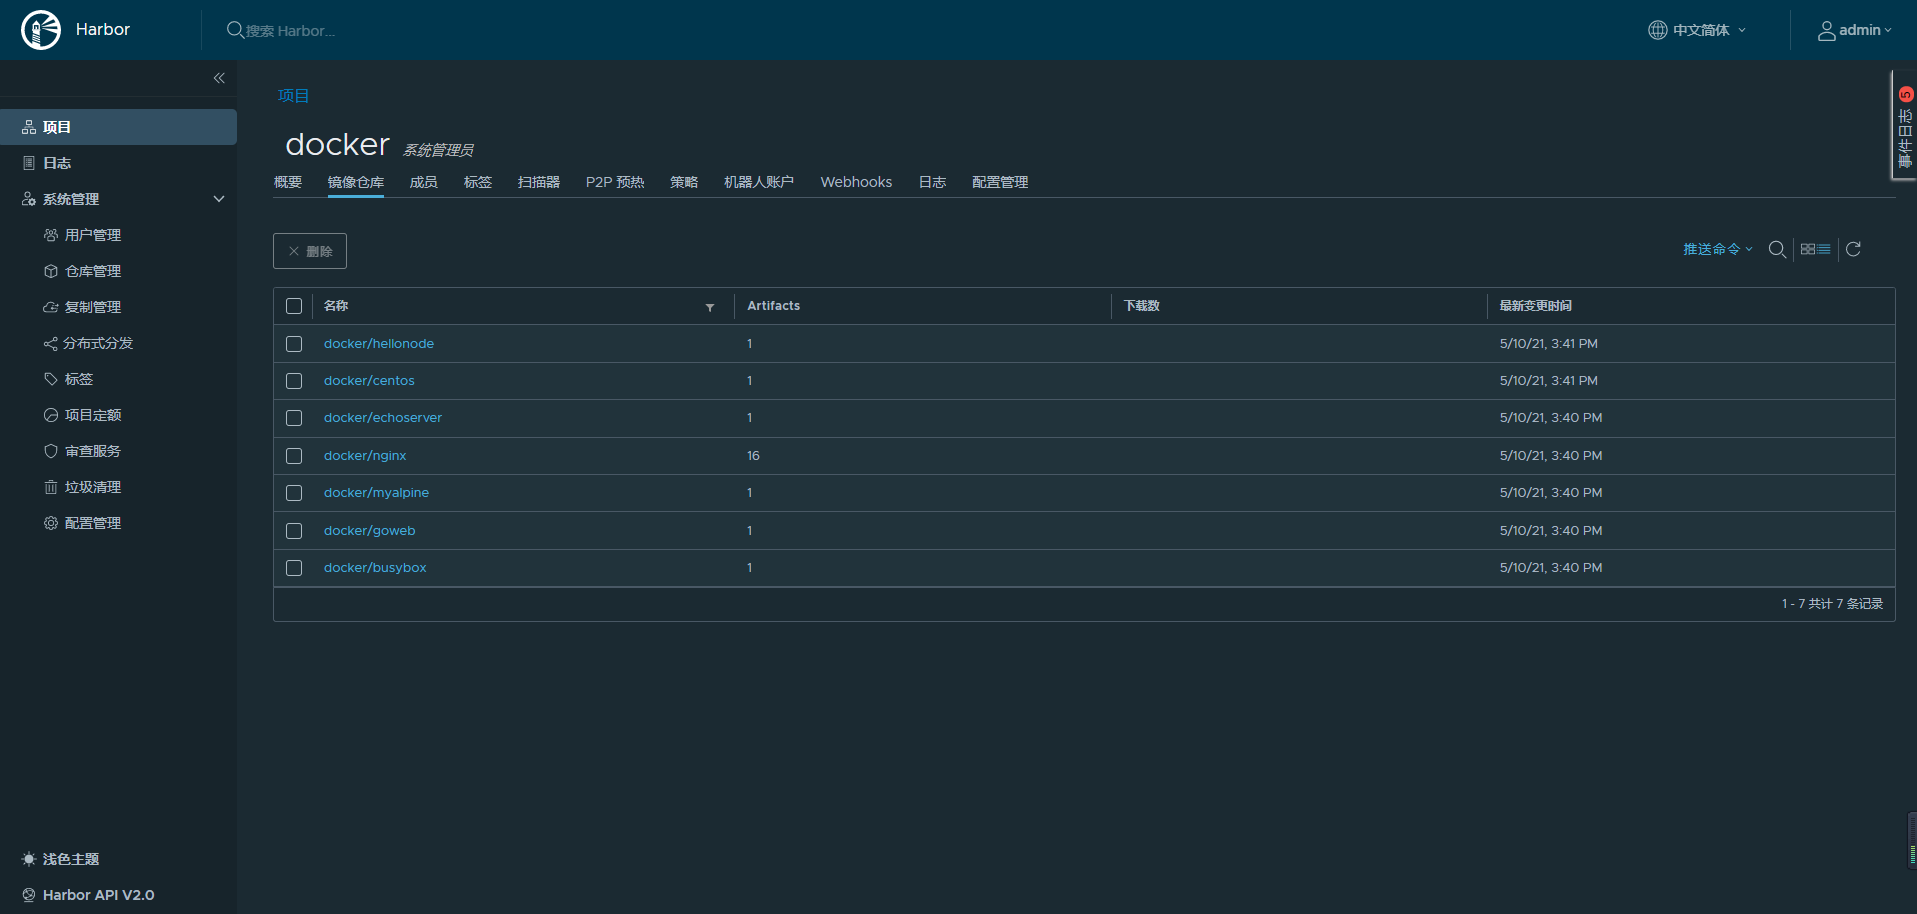
#4,推送到自建的镜像仓库,需要主要的是项目需要添加创建好,我这里创建的是docker项目
[root@VM-249-124-tlinux ~/harbor]# docker push 94.191.122.37/docker/busybox:harbor
The push refers to repository [94.191.122.37/docker/busybox]
c1cf1676e7d0: Pushed
harbor: digest: sha256:15a3c8a1b44b5ef66f9b4b2e1875b50302d100e116f1d4d5ede71d5ac63177c3 size: 527

#5,在本地删除这个镜像,然后测试拉取
root@VM-249-124-tlinux ~/harbor]# docker rmi 94.191.122.37/docker/busybox:harbor
Untagged: 94.191.122.37/docker/busybox:harbor
Untagged: 94.191.122.37/docker/busybox@sha256:15a3c8a1b44b5ef66f9b4b2e1875b50302d100e116f1d4d5ede71d5ac63177c3
[root@VM-249-124-tlinux ~/harbor]# docker rmi busybox
Untagged: busybox:latest
Untagged: busybox@sha256:20142e89dab967c01765b0aea3be4cec3a5957cc330f061e5503ef6168ae6613
Deleted: sha256:c98db043bed913c5a7b59534cbf8d976122f98b75cb00baabf8af888041e4f9d
Deleted: sha256:c1cf1676e7d071645e67257fbb18db931a091c73a211f87bf4559c86e75bcdd3

#5,测试从自建镜像仓库拉取镜像
[root@VM-249-124-tlinux ~/harbor]# docker pull 94.191.122.37/docker/busybox:harbor
harbor: Pulling from docker/busybox
2c39bef88607: Pull complete
Digest: sha256:15a3c8a1b44b5ef66f9b4b2e1875b50302d100e116f1d4d5ede71d5ac63177c3
Status: Downloaded newer image for 94.191.122.37/docker/busybox:harbor
94.191.122.37/docker/busybox:harbor
[root@VM-249-124-tlinux ~/harbor]# docker images | grep busybox
94.191.122.37/docker/busybox harbor c98db043bed9 3 days ago 1.24MB

image-20220905225703981

自签名证书实现https

一般情况下,Harbor是可以不用带CA证书认证的,直接通过http方式访问,建议是在测试环境,对应生产环境,为了安全起见,更推荐使用HTTPS,使用HTTPS,需要对应SSL证书。可以使用由受信任的第三方CA签名的证书,也可以使用openssl进行自签名证,下面主要介绍如何使用 opensll创建CA,以及如何使用CA签署服务器证书和客户端证书,搭建https方式访问的harbor镜像仓库

预定义自建的镜像仓库域名是 harbor.chen1900s.cn

自签证书

1,创建存放证书目录

mkdir  -p /root/ssl
cd /root/ssl

2,创建 CA 根证书

openssl req  -newkey rsa:4096 -nodes -sha256 -keyout ca.key -x509 -days 365 -out ca.crt -subj "/C=CN/L=beijing/O=lisea/CN=harbor-registry"

3,生成一个证书签名, 设置访问域名为 harbor.chen1900s.com

需要把里面的域名 替换成您想要使用的域名,时间可以自定义

openssl req -newkey rsa:4096 -nodes -sha256 -keyout harbor.chen1900s.com.key -out server.csr -subj "/C=CN/L=beijing/O=lisea/CN=harbor.chen1900s.com"

4,生成主机的证书

openssl x509 -req -days 365 -in server.csr -CA ca.crt -CAkey ca.key -CAcreateserial -out harbor.chen1900s.com.crt

5,查看当前证书文件

[root@VM-249-124-tlinux ~/ssl]# ls -lrt
total 24
-rw-r--r-- 1 root root 3272 Sep 6 21:08 ca.key
-rw-r--r-- 1 root root 1931 Sep 6 21:08 ca.crt
-rw-r--r-- 1 root root 1663 Sep 6 21:08 server.csr
-rw-r--r-- 1 root root 3272 Sep 6 21:08 harbor.chen1900s.com.key
-rw-r--r-- 1 root root 17 Sep 6 21:10 ca.srl
-rw-r--r-- 1 root root 1822 Sep 6 21:10 harbor.chen1900s.com.crt

6,如果已经安装http的harbor,需要先删除,再执行安装命令(如果没有安装过 这步忽略)

#1,停服务
docker-compose stop
#2,删除容器
docker rm -f $(docker ps -aq)
#3,将镜像全部删除
docker rmi `docker images -q`

安装Harbor

1,修改配置文件harbor.yaml

cp ./harbor.yml.tmpl   ./harbor.yml

vi harbor.yml
# Configuration file of Harbor

# The IP address or hostname to access admin UI and registry service.
# DO NOT use localhost or 127.0.0.1, because Harbor needs to be accessed by external clients.
hostname: harbor.chen1900s.com

# http related config
http:
# port for http, default is 80. If https enabled, this port will redirect to https port
port: 80

# https related config
https:
# https port for harbor, default is 443
port: 443
# The path of cert and key files for nginx
certificate: /root/ssl/harbor.chen1900s.com.crt
private_key: /root/ssl/harbor.chen1900s.com.key

# # Uncomment following will enable tls communication between all harbor components
# internal_tls:
# # set enabled to true means internal tls is enabled
# enabled: true
# # put your cert and key files on dir
# dir: /etc/harbor/tls/internal
#######其他配置保持不变

2,执行安装命令

./prepare

./install.sh
[Step 5]: starting Harbor ...
[+] Running 9/9
⠿ Container harbor-log Started 0.7s
⠿ Container harbor-portal Started 1.7s
⠿ Container harbor-db Started 1.5s
⠿ Container registry Started 1.6s
⠿ Container redis Started 1.7s
⠿ Container registryctl Started 1.5s
⠿ Container harbor-core Started 2.0s
⠿ Container nginx Started 2.6s
⠿ Container harbor-jobservice Started 2.6s
✔ ----Harbor has been installed and started successfully.----

以上提示表示安装成功

如果是自签的域名 需要加下hosts配置

94.191.122.37    harbor.chen1900s.com

浏览器登陆提示不安全的证书,原因是我们是自己当CA机构,所以浏览器会不信任。添加信任就好

image-20220906214758292

其他机器如果要拉取镜像登陆镜像仓库,需要配置

  1. 创建目录/etc/docker/certs.d/harbor.chen1900s.com(后面的目录是自己定义的域名)
  2. 将harbor的证书拷贝到创建的目录中
  3. 修改/etc/docker/daemon.json,添加insecure-registries配置,填写自己的域名
cat /etc/docker/daemon.json
{
"registry-mirrors": ["https://mirror.ccs.tencentyun.com"],
"insecure-registries": ["harbor.chen1900s.com"]
}

4,配置hosts:94.191.122.37 harbor.chen1900s.com

echo  “94.191.122.37    harbor.chen1900s.com” >> /etc/hosts

​ 5,然后重启docker容器和harbor服务

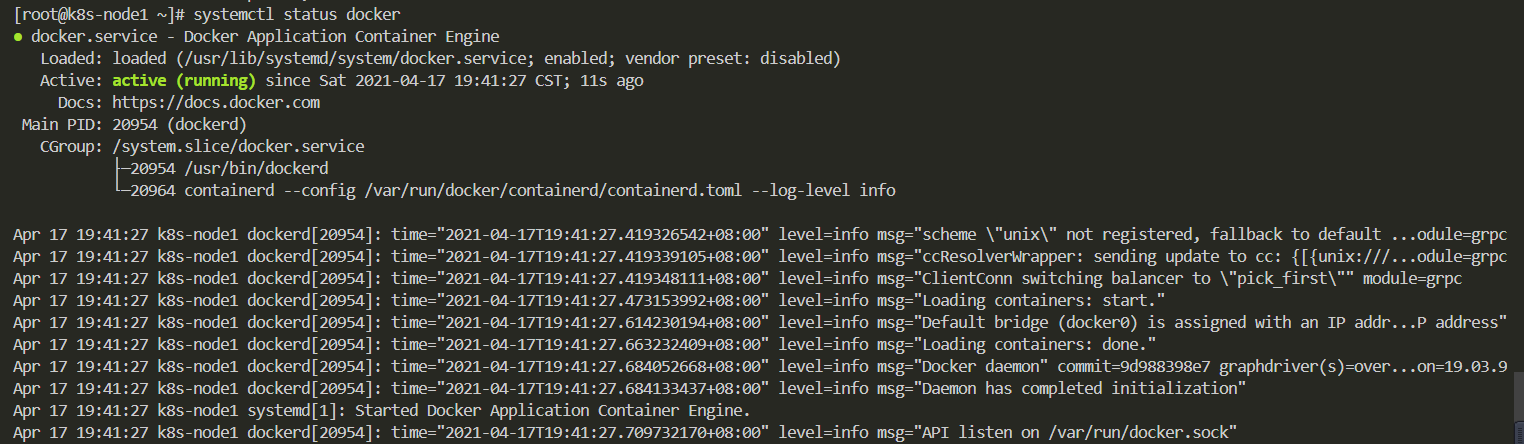
systemctl daemon-reload   重新加载daemon
systemctl restart docker #重启docker服务
systemctl status docker

docker-compose restart #登陆harbor配置目录执行
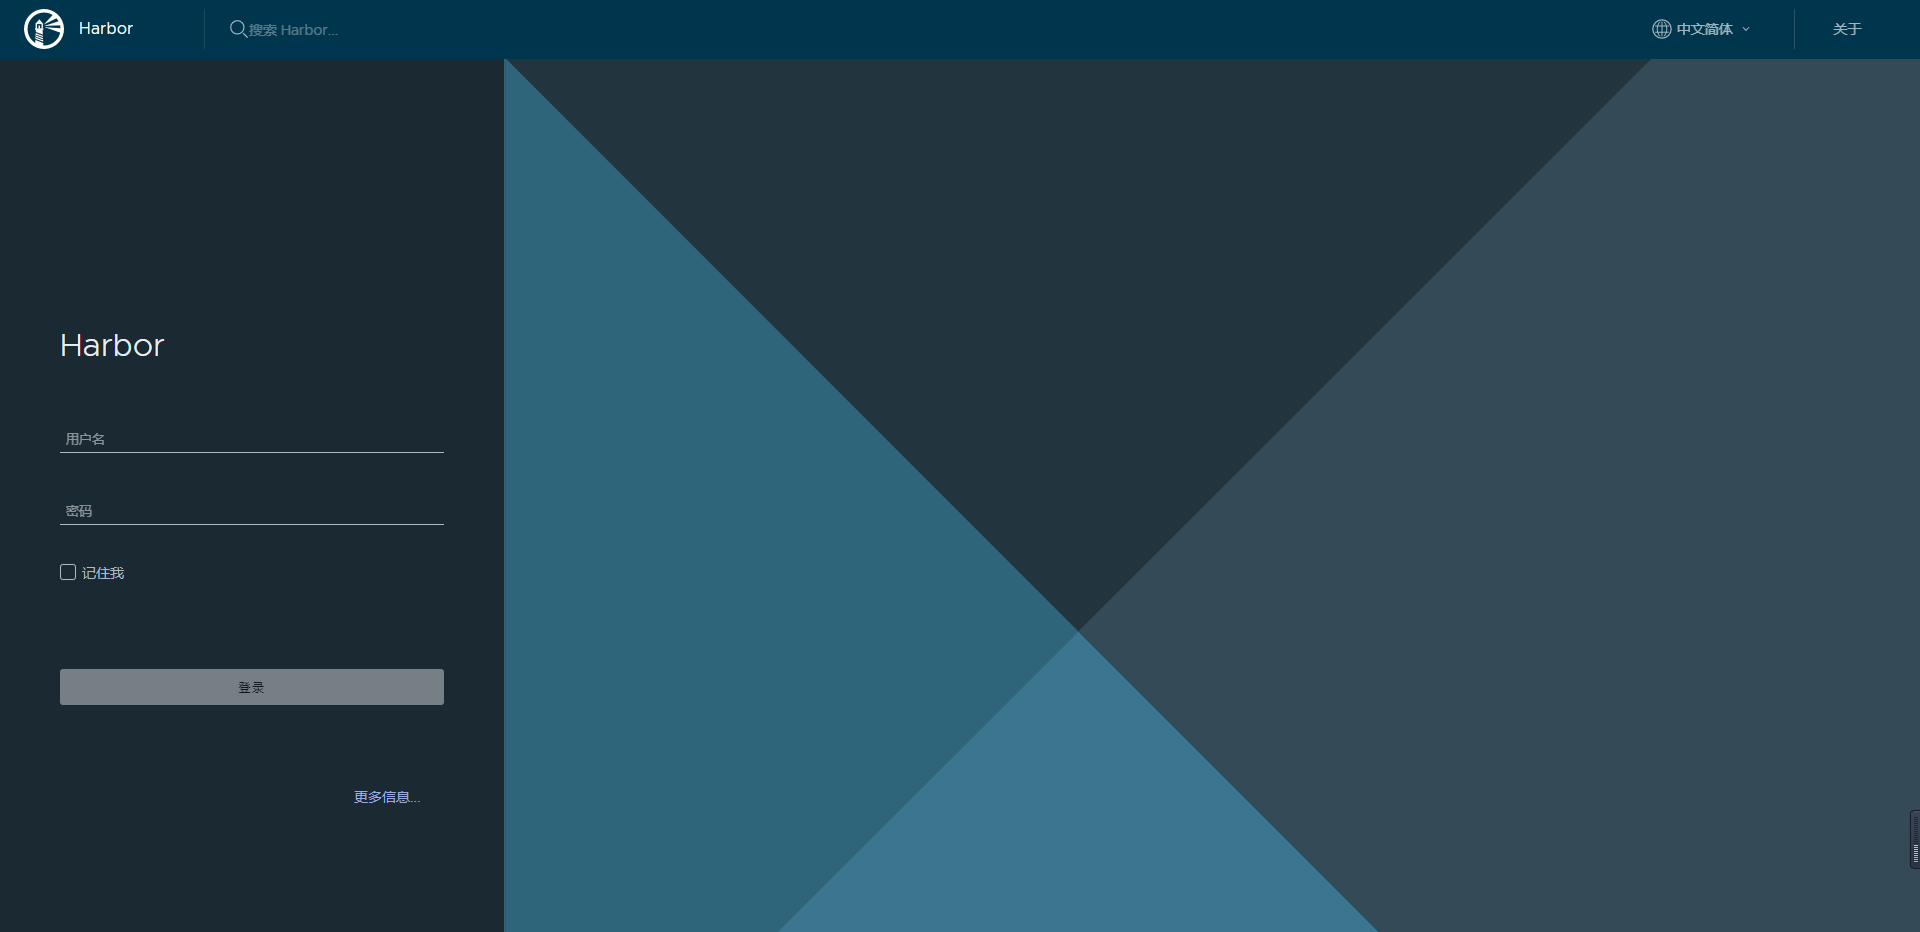
登陆和上传拉取镜像

登陆:

root@VM-249-124-tlinux ~/harbor]# docker login harbor.chen1900s.com
Username: admin
Password:
WARNING! Your password will be stored unencrypted in /root/.docker/config.json.
Configure a credential helper to remove this warning. See
https://docs.docker.com/engine/reference/commandline/login/#credentials-store

Login Succeeded

上传镜像:

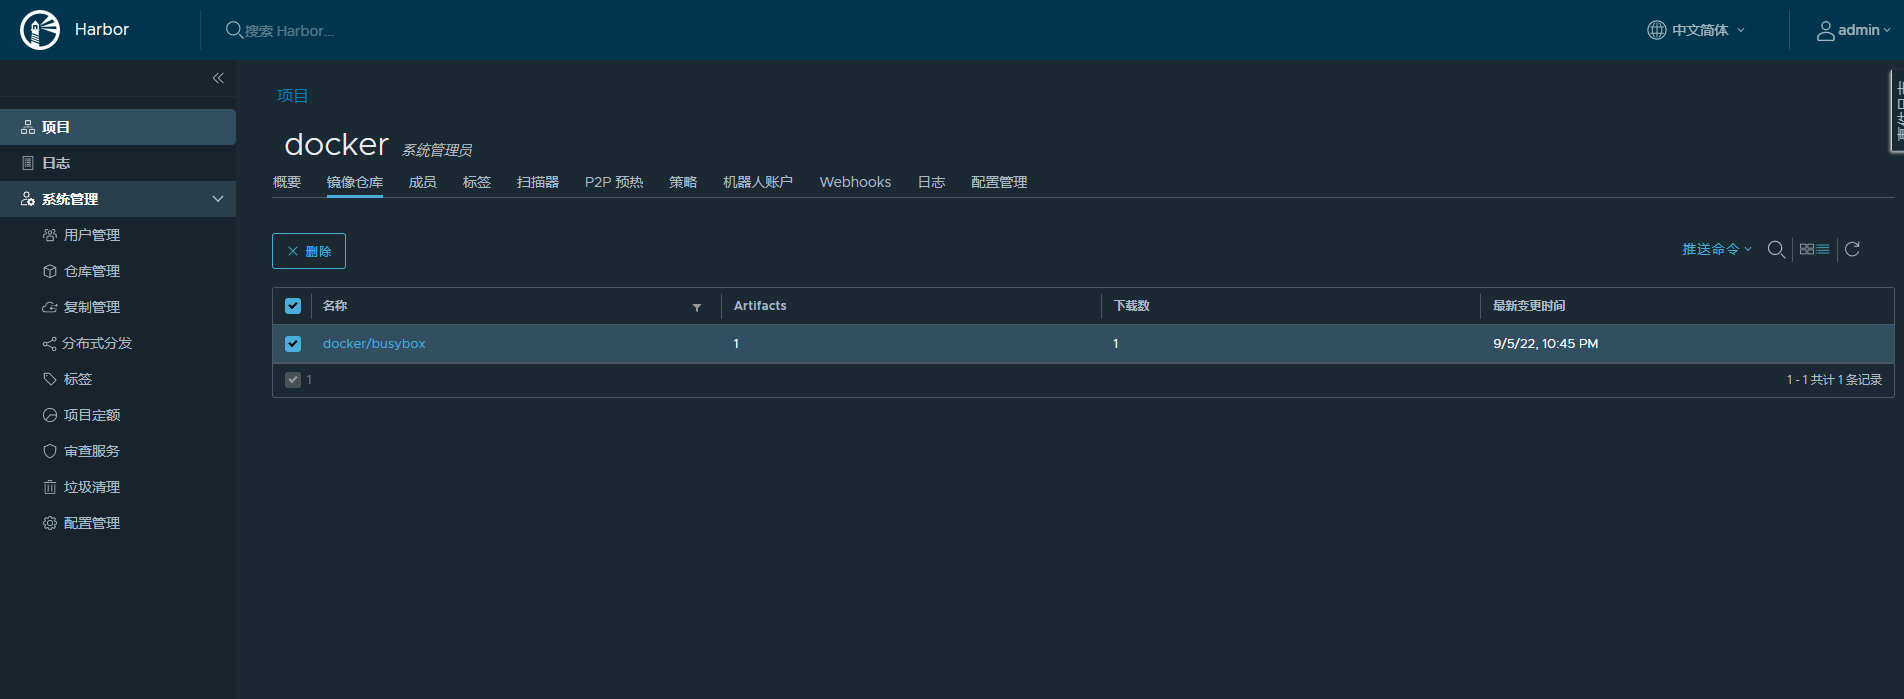
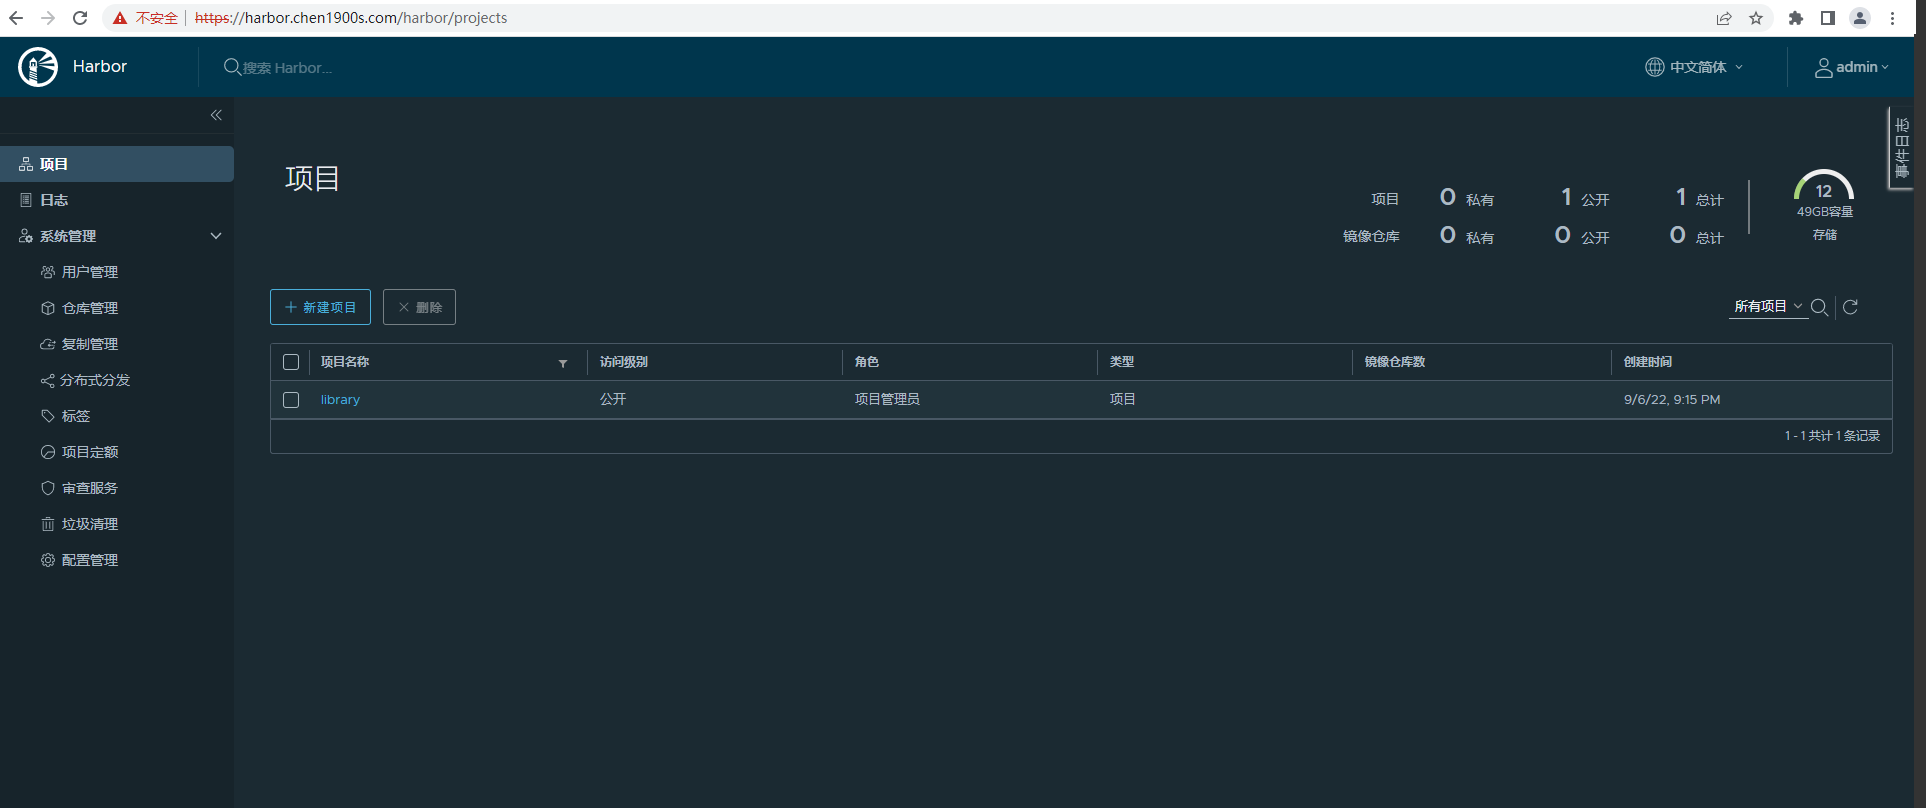
docker tag 80d28bedfe5d harbor.chen1900s.com/library/pause:latest  #将镜像重新打tag
docker push harbor.chen1900s.com/library/pause:latest #推送镜像
The push refers to repository [harbor.chen1900s.com/library/pause]
ba0dae6243cc: Pushed
latest: digest: sha256:4a1c4b21597c1b4415bdbecb28a3296c6b5e23ca4f9feeb599860a1dac6a0108 size: 52

登陆其他节点拉取镜像

[root@VM-0-33-tlinux ~]# docker pull harbor.chen1900s.com/library/pause:latest
latest: Pulling from library/pause
Digest: sha256:4a1c4b21597c1b4415bdbecb28a3296c6b5e23ca4f9feeb599860a1dac6a0108
Status: Downloaded newer image for harbor.chen1900s.com/library/pause:latest
harbor.chen1900s.com/library/pause:latest