


GitLab的安装及使用
安装
1、配置yum源
vim /etc/yum.repos.d/gitlab-ce.repo
复制以下内容:
[root@chen ~]# cat  /etc/yum.repos.d/gitlab-ce.repo
[gitlab-ce]
name=gitlab-ce
baseurl=http://mirrors.tuna.tsinghua.edu.cn/gitlab-ce/yum/el7
repo_gpgcheck=0
gpgcheck=0
enabled=1
gpgkey=https://packages.gitlab.com/gpg.key
2、更新本地yum缓存 sudo yum makecache
[root@chen ~]# yum makecache
yum install -y postfix
systemctl enable postfix
vim /etc/postfix/main.cf #删除 inet_interfaces = all 前的 #,在 inet_interfaces = localhost 前加上
systemctl start postfix
3、安装GitLab社区版
sudo yum install gitlab-ce #自动安装最新版
[root@chen ~]# sudo EXTERNAL_URL="实例公网 IP 地址" yum install -y gitlab-ce
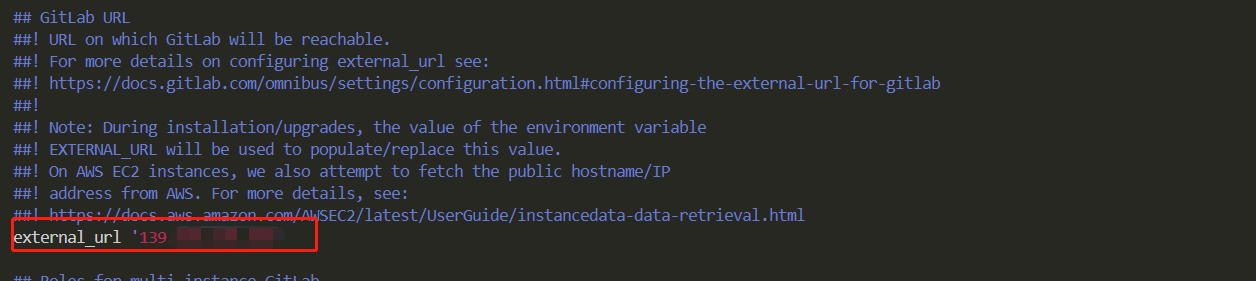
4,安装完 需要修改下配置文件,将指的域名替换成公网IP
vim /etc/gitlab/gitlab.rb
#将external_url 变量的地址修改为gitlab所在centos的ip地址。
external_url ‘http://git.home.com’
gitlab-ctl reconfigure          //让配置生效,重新执行此命令时间也比较长
gitlab-ctl restart
5,获得用户数据,修改用户密码
[root@VM-3-9-tlinux /opt/gitlab/bin]# gitlab-rails console
irb(main):007:0> User.where(id: 1).first
=> #<User id:1 @root>
irb(main):008:0> user = User.where(id: 1).first
=> #<User id:1 @root>
irb(main):009:0> user.password=12345678
=> 12345678
irb(main):010:0> user.password_confirmation=12345678
=> 12345678
irb(main):011:0> user.save!
Enqueued ActionMailer::MailDeliveryJob (Job ID: 4977da90-a2bf-4687-b39b-bb65430f8530) to Sidekiq(mailers) with arguments: "DeviseMailer", "password_change", "deliver_now", {:args=>[#<GlobalID:0x00007f1528ab9930 @uri=#<URI::GID gid://gitlab/User/1>>]}
=> true
irb(main):012:0> quit
GitLab常用命令
udo gitlab-ctl start          # 启动所有 gitlab 组件;
sudo gitlab-ctl stop           # 停止所有 gitlab 组件;
sudo gitlab-ctl restart        # 重启所有 gitlab 组件;
sudo gitlab-ctl status          # 查看服务状态;
sudo gitlab-ctl reconfigure      # 启动服务;
sudo vim /etc/gitlab/gitlab.rb     # 修改默认的配置文件;
gitlab-rake gitlab:check SANITIZE=true --trace    # 检查gitlab;
sudo gitlab-ctl tail              # 查看日志;
GitLab使用
登录GitLab 1、在浏览器的地址栏中输入公网IP即可登录GitLab的界面,使用上面修改的的用户名和密码为 root 和 xxxxxxx
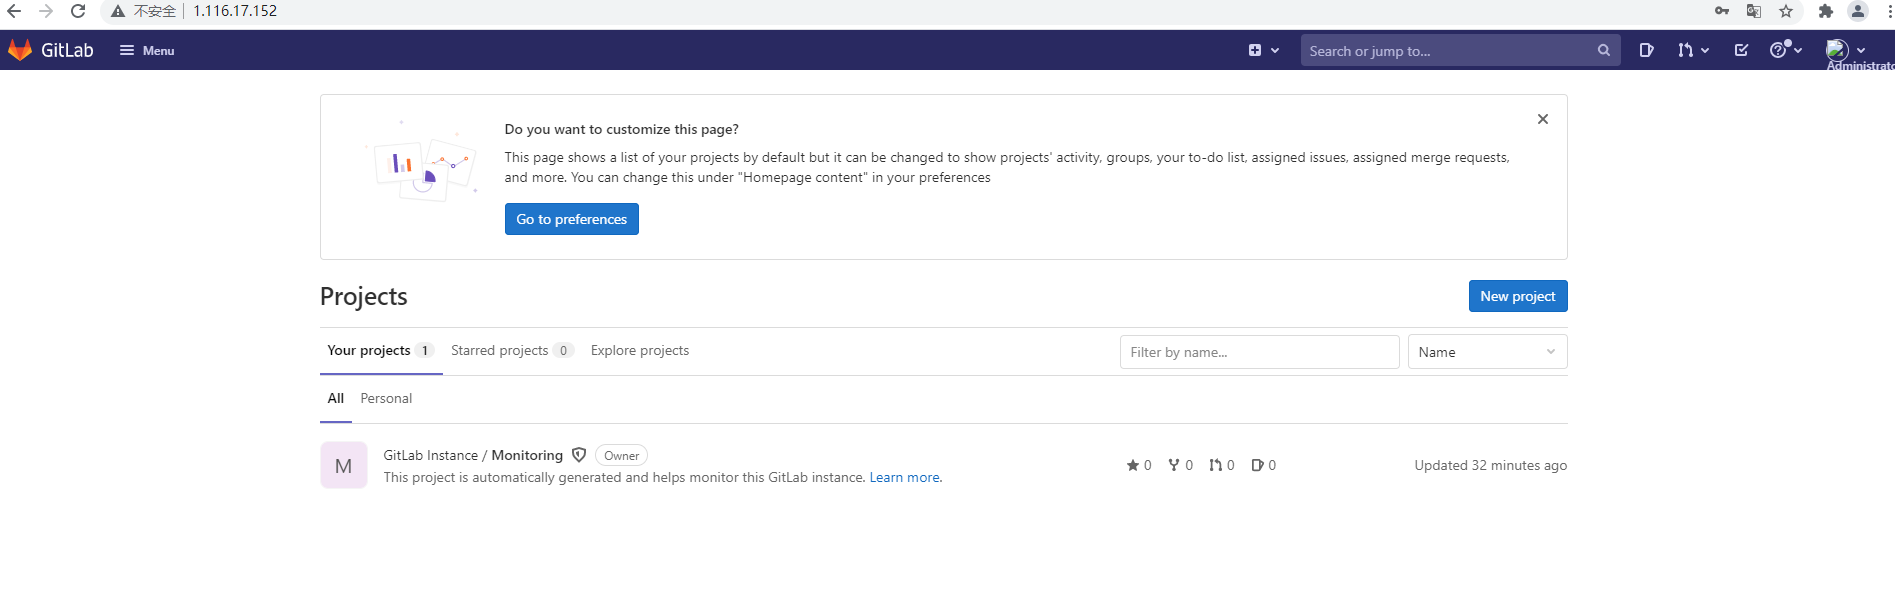
2、首次登录会强制用户修改密码。密码修改成功后,输入新密码进行登录。
创建Project
1,安装Git工具linux:安装Git,使用自带的源安装。或者Windows 安装git
[root@VM-3-9-tlinux ~]# yum install git
2,生成密钥文件:使用ssh-keygen生成密钥文件.ssh/id_rsa.pub。
[root@VM-3-9-tlinux ~]# ssh-keygen
Generating public/private rsa key pair.
Enter file in which to save the key (/root/.ssh/id_rsa):
Enter passphrase (empty for no passphrase):
Enter same passphrase again:
Your identification has been saved in /root/.ssh/id_rsa.
Your public key has been saved in /root/.ssh/id_rsa.pub.
The key fingerprint is:
SHA256:8O/MfCKmOcz6SfDk8adEhgXfFQbXH44Rn4meKZs8i8Y root@VM-3-9-tlinux
The key's randomart image is:
+---[RSA 2048]----+
|      .   ..=+.  |
|       o . + .+.o|
|      . o .  .+=.|
|       =    ..o..|
|    . + S  . +   |
|     = = .. +    |
|     o+ + o=     |
|     .++oEo +    |
|    .o=+oo=+     |
+----[SHA256]-----+
3,在GitLab的主页中新建一个Project

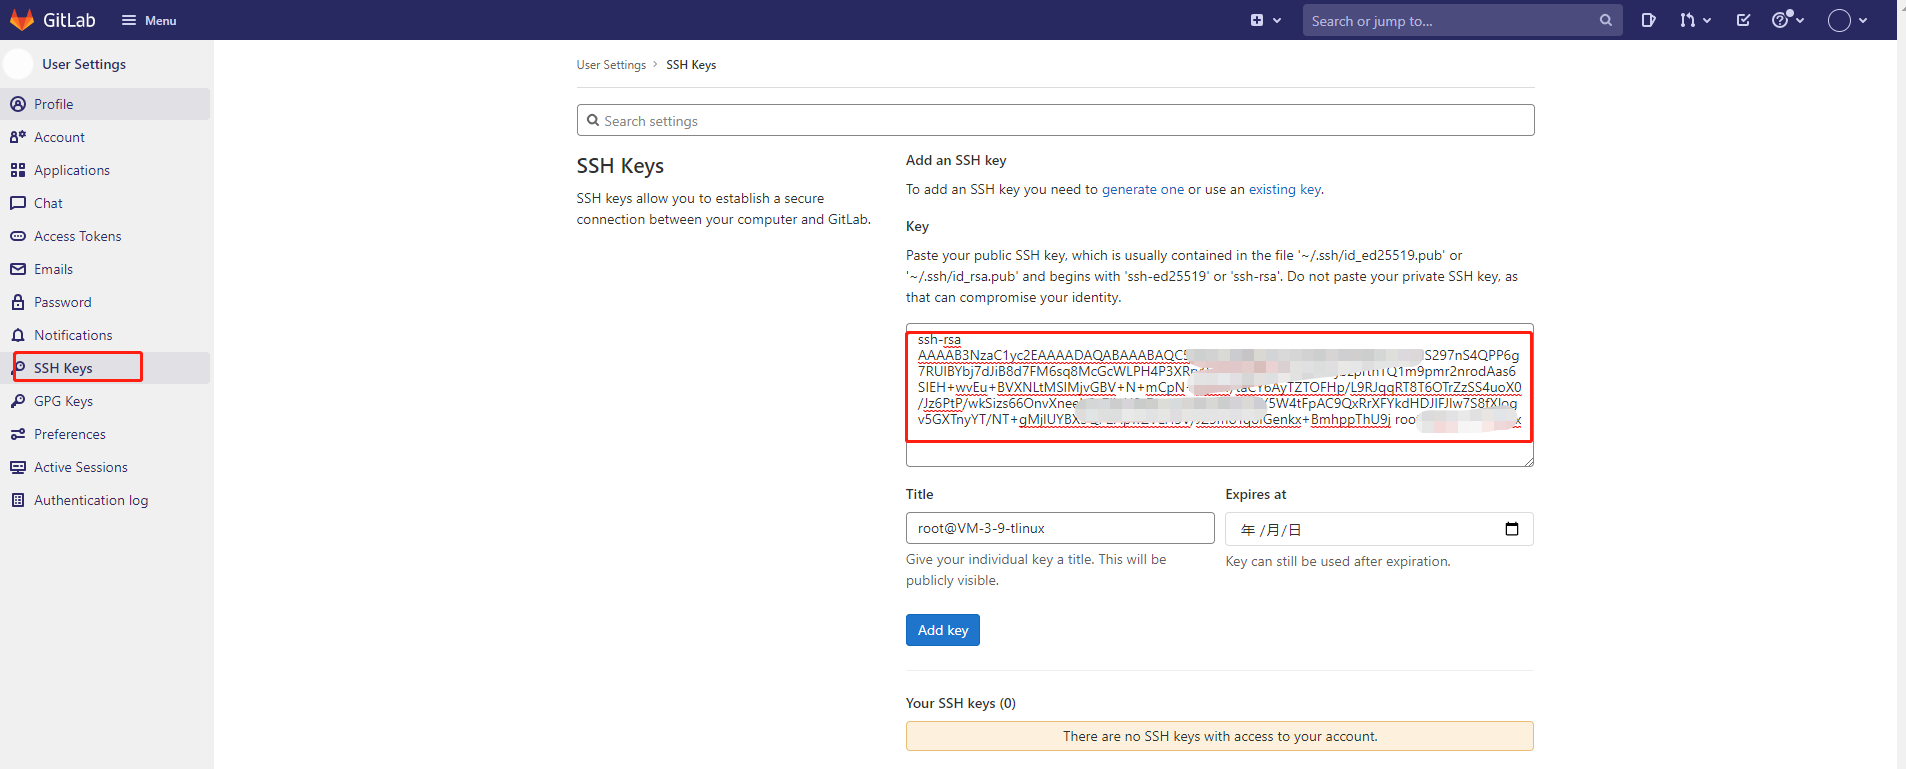
4,添加ssh key导入步骤2中生成的密钥文件内容:
5, ssh key添加完成: 可以通过命令验证 ssh -T git@github.com
6,项目地址,该地址在进行clone操作时需要用到:
克隆项目
在已纳入管理的 PC 上执行以下命令,配置使用 Git 仓库的人员姓名。
git config --global user.name "username"执行以下命令,配置使用 Git 仓库的人员邮箱。
git config --global user.email "xxx@example.com"执行以下命令,克隆项目。其中“项目地址”请替换为项目地址。
git clone “项目地址”克隆项目成功后,会在本地生成同名目录且包含项目中所有文件。
初始化本地项目
PS F:\容器wiki> git init
Reinitialized existing Git repository in F:/容器wiki/.git/
PS F:\容器wiki> git remote add origin  git@1.116.17.152:root/kubernetes.git
PS F:\容器wiki> git  add .
PS F:\容器wiki> git commit -m "first"
PS F:\容器wiki> git push  -u origin master
上传文件
执行以下命令,进入项目目录。
cd test/执行以下命令,创建需上传至 GitLab 的目标文件。本文以 test.sh 为例。
echo "test" > test.sh执行以下命令,将 test.sh 文件加入索引中。
git add test.sh执行以下命令,将 test.sh 提交至本地仓库。
git commit -m "test.sh"执行以下命令,将 test.sh 同步至 GitLab 服务器。
git push -u origin master